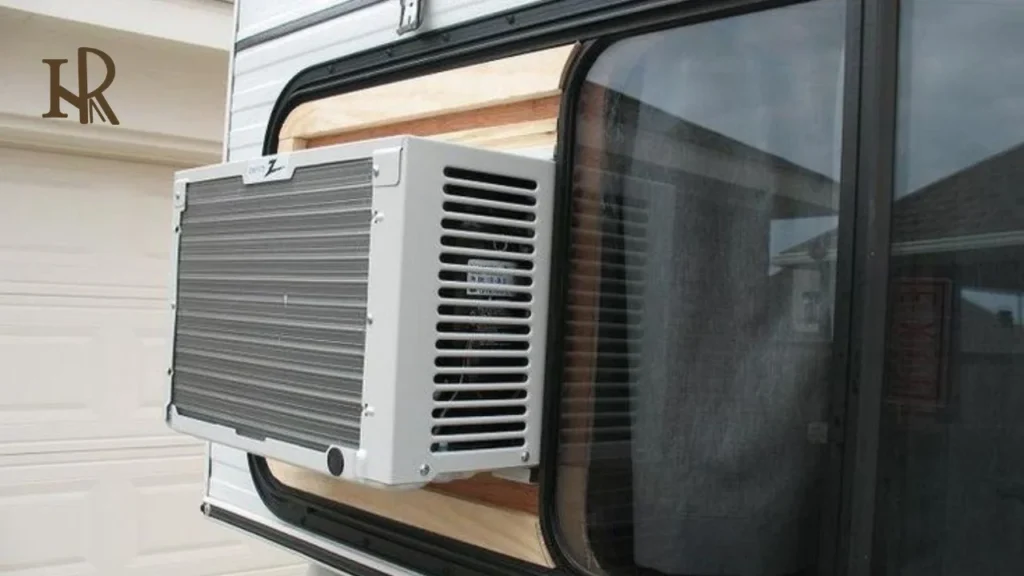
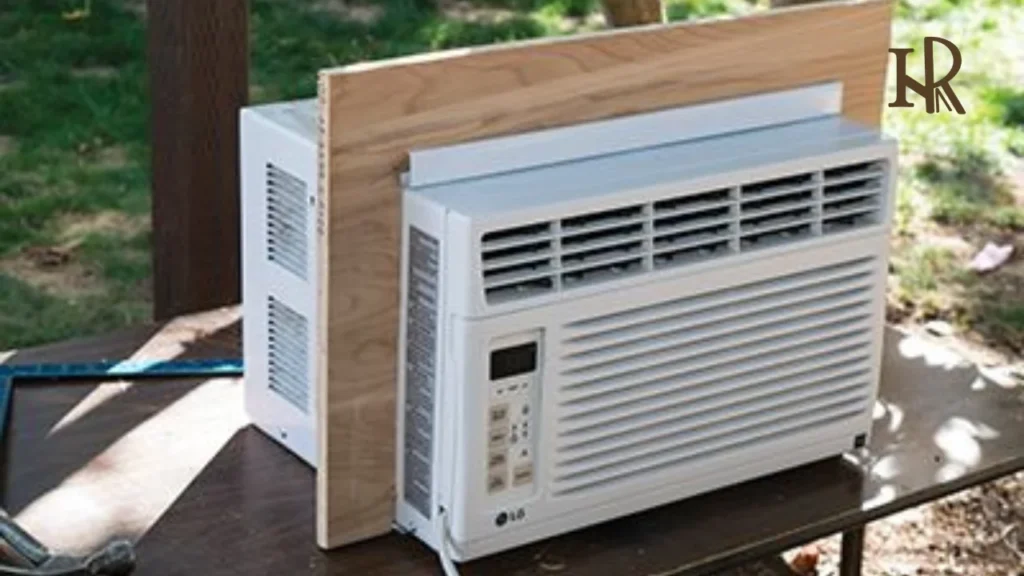
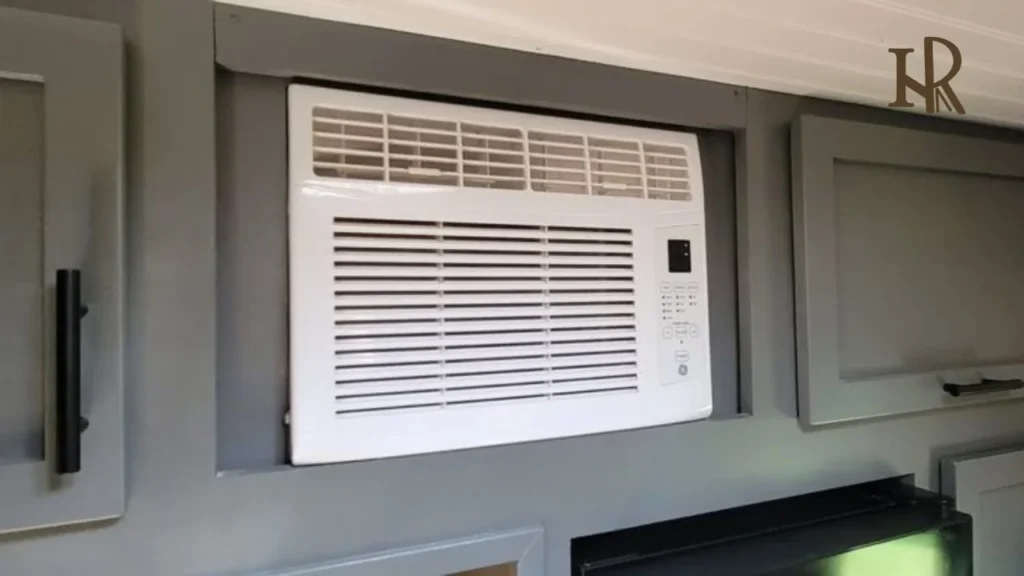
This easy guide is all about the step by step process of how to install window AC in RV in which we shall go through the complete process of how to install window AC in RV and in this DIY RV AC installation Guide, we shall also know about some important maintenance tips for RV window AC with some best portable widow ACs for RV.
The basic steps of DIY RV AC installation include choosing the right window AC unit, preparing the installation area, installing the window AC bracket, position the window AC unit, sealing the gaps and plugging In and testing.

Let Us Start!
When the summer season comes then it becomes a top priority to keep your RV cool. To do this, you have to install a window AC in your RV which can be a practical and cost-effective solution to maintain a comfortable temperature in your RV.
This DIY RV AC installation guide will completely guide you how to install a window AC in an RV and covers all the essential steps, tips and best practices to ensure a perfect installation process of window AC.
Steps to Install a Window AC in an RV_ How to install window AC in RV

Here are all the important steps of DIY RV Widow AC Installation and by following these easy steps you can easily install window AC in your camper by yourself.
1. Choose the Right Window AC Unit
The first step of how to install window AC in RV guide is to choose a right window AC for your RV. A right type of AC is very important for your RV so that you have a comfortable trip in summers. Not all window AC units are suitable for RV use. Here are some key factors which you have to consider while choosing a window AC for your RV:
- BTU Capacity: You should choose a unit which have a BTU rating that matches the size of your RV. For small RVs, 5,000-8,000 BTUs is typically sufficient.
- Weight: Make sure that the unit is lightweight enough to avoid over burdening the structure of your RV.
- Energy Efficiency: Look for an Energy Star-rated model to save on the consumption of power.
- Size and Dimensions: Measure the window opening to make sure that the AC fit properly.
Tip: Some of the best window air conditioners for RVs include models from Frigidaire, LG, and GE, which give compact and efficient designs of window ACs.
2. Prepare the Installation Area
In the how to install guide of RV window AC the second step is to prepare that place where to want to setup the AC in your RV by following the below steps:
- Choosing the Window: First you have to select a window that provides an optimal ventilation and which is also strong enough to support the AC unit.
- Removing the Screen: Secondly, you have to carefully detach the window screen to make a space for the AC unit.
- Cleaning the Area: After making a space for AC unit now you have to wipe down the window frame and surrounding area of it to make sure a clean surface for RV widow AC installation.
3. Install the Window AC Bracket
After preparing the area of installation, now you have to install the bracket of window AC. Most window AC units come with a support bracket to stabilize the unit. Follow these steps to do this:
- Attach the Bracket: Secure the bracket of window AC to the outside of the RV window by using screws or clamps.
- Level the Bracket: Make sure the bracket is level in order to prevent leakage of water or improper airflow.
4. Position the Window AC Unit
The next step of how to install window AC in RV guide is to properly place the window AC at the exact place by following these steps:
- Lift the Unit: Carefully lift the AC unit and place it onto the bracket. This may require two people for the purpose of safety.
- Adjust the Fit: Slide the unit into the window opening and make sure a strong fit of AC unit.
- Secure the Unit: Use screws or clamps to fix the unit to the window frame. Make sure that the AC unit is stable and it cannot shift during your travel.
5. Seal the Gaps
The fifth step of how to install window AC in RV guide is to seal the gaps which are left during the fitting of the AC unit in the window by following these steps:
- Insulate the Sides: Use foam padding or weather stripping to seal any gaps between the AC unit and the window frame.
- Prevent Leaks: Apply silicone caulk around the edges to prevent any water leakage during rain.
6. Plug In and Test
The last and final step of how to install window AC in RV guide is to plug your AC in the electric switch and test the working of your RV window AC by:
- Electrical Connection: Plug the AC unit into a power outlet. Use a protector to safeguard against any voltage fluctuations.
- Test the Unit: Turn on the AC and check for proper airflow and cooling performance.
- Adjust Settings: Do experiment with the settings of temperature and fan to optimize the comfort.
These are all steps of guide of how to install window AC in RV. Now by following this DIY RV AC installation guide, you can easily install the window AC in your RV and increase the level of your comfort in summers.
Related Posts
After knowing how to install window AC in RV you can also see these posts as well:
- 7 Best practices for RV AC upkeep,
- AC Problems & fixes: RV AC unit is not cooling why?_ How to Fix Guide 2025,
Other Categories
- Basic RV information
- Eco-Friendly RVing
- RV Challenges and Solutions
- RV lifestyle and culture
- RV maintenance and repair
- RV travel tips
- RV Trends
Why Install a Window AC in an RV?

After knowing how to install window AC in RV, it is also very important for you to know the reason of installing a window AC in your RV. Air conditioning units of traditional RV can be very expensive to repair or replace and they may not always meet your cooling needs. Here are some points which will tell you the reason that why most of the RV owners are deciding to install a window AC unit in an RV:
- Affordability: Window AC units are significantly cheaper than that of rooftop or other built-in AC systems.
- Efficiency: Many window AC units provide excellent cooling with less energy consumption.
- Easy to Maintain: Cleaning and maintaining a window AC is very easy and straightforward as compared to complex RV AC systems.
- Flexibility: These ACs are portable and removable which make them an ideal choice for seasonal use.
Real-Life Example_ How to install window AC in RV

John a full-time RVer who installed a 6,000 BTU window AC unit in his 24-foot travel trailer. He reduced his cooling costs by up to 30% as compared to that of running the built-in rooftop AC by following the above steps of how to install window AC in RV. The compact size and energy efficiency of the AC unit made it a game-changer for his summer trips.
Tips for Maintaining a Window AC in an RV_ How to install window AC in RV
Here are some useful tips for maintaining the RV window AC so that it give a comfortable environment in your RV:
- Regular Cleaning: Clean the filters of the AC after every 30 days to maintain the airflow and the efficiency of AC.
- Check for Leaks: Inspect the seals and caulking time to time in order to prevent water damage.
- Monitor Power Usage: Use an energy monitor to track the consumption of electricity and avoid from overloading the power system of your RV.
Conclusion_ How to install window AC in RV
After discussing the steps of DIY RV AC installation we come to know that the step of learning how to install a window AC in an RV can transform your travel experience by providing reliable and efficient cooling.
You can enjoy a comfortable RV environment throughout the year by choosing the right unit, following a detailed DIY RV AC installation process and performing regular maintenance. For more expert advice and resources, you can also visit authoritative resource.
I tried my best to tell you how to install window AC in RV but if you still have any question then you can freely ask it in comment box or contact us Here or from home page.
Share your remarks in the comment box! Thanks for your time.
FAQs_ How to install window AC in RV
Here are some important FAQs about how to install window AC in RV.
Can any window AC unit be used in an RV?
No, only compact and lightweight AC units are designed for small spaces and they are suitable for RV use.
Is installing a window AC in an RV a DIY project?
Yes, with the right tools and instructions, most RV owners can complete the installation of AC unit in RV themselves.
Are there any alternatives of window AC units for RVs?
Yes, portable AC units for RVs are another option which give similar cooling capabilities without permanent installation.
How do I prevent my window AC from falling out?
Make sure that the support bracket of window AC is securely installed and the AC unit is properly anchored to the window frame.
What is the lifespan of a window AC unit in an RV?
With regular maintenance, a good quality window AC unit can last up to 8-12 years.
Where is the best place to install a window AC unit in an RV?
The best location to install a window AC depends on the design of your RV. Some common spots include windows, pre-cut vent openings or a custom-made frame on the side of the RV.
Do I need an additional power source for a window AC unit in my RV?
It depends on the wattage of the AC unit and power system of your RV. Make sure that your RV can handle the electrical load without tripping breakers. In some cases, a generator or dedicated circuit may be required.
Are window AC units energy-efficient for RVs?
Window AC units can be energy-efficient if you select the right size for your RV. Look for those models which have high EER (Energy Efficiency Ratio) ratings and programmable features.
What size window AC unit do I need for my RV?
The size of the window AC depends on the square footage of your RV. A 5,000-8,000 BTU window AC unit is usually sufficient for most of the RVs. You should also measure the space and check the specifications of the AC unit to ensure proper cooling.
How do I prevent leaks when installing a window AC unit in my RV?
Use foam insulation, weatherproof caulking, and a drip pan to keep the condensation away from the RV. Regularly check the seals for leaks.
How do I maintain a window AC unit in my RV?
Clean the filters monthly, inspect the coils and make sure that the unit is free of debris. Store the AC properly during off-season months to increase its lifespan.
What are the pros and cons of installing a window AC unit in an RV?
Pros: They are cost-effective, easy installation and give efficient cooling for small spaces.
Cons: They may obstruct views, require proper sealing and be less effective for large RVs.
Are window AC units noisy in an RV?
Modern window AC units are designed to operate quietly. However, some noise is nonstop able. Check product reviews and specifications for noise ratings before purchasing a window AC for RV.
Can I run a window AC unit while driving my RV?
It is generally not recommended to use while driving unless you have a stable power source such as an inverter or generator. Make sure that the AC unit is securely installed to handle the movement.
What is the cost of installing a window AC unit in an RV?
The cost varies based on the size of AC unit, brand and installation method. Most window AC units have a price range from $150-$500 with additional costs for brackets, insulation and professional help if needed.
How do I choose the best window AC unit for my RV?
You can choose a window AC for your RV by considering the factors like size (BTUs), energy efficiency, noise level and ease of installation. Popular brands like Frigidaire and LG have reliable AC options for RVs.
These are some important FAQs about how to install window AC in RV.

Hi, I’m Umar Mirza, the writer of posts of HandyRV.com. I created this site to share my journey and knowledge on RV life, web development, and blogging. With two years of experience in web development and blogging, plus my background in graphic design and current studies in law, I bring a unique perspective to the online world.
Working with international clients and developing my skills in video editing have been rewarding parts of my journey. Inspired by my friend, YouTuber Satish, I’m motivated by the endless opportunities for growth and income in the online field. I love the flexibility of working from home, which allows me to dive into my passions and share what I learn.
Check out my posts on HandyRV.com, or connect with me on social media, love to connect and help others on their own journeys!
