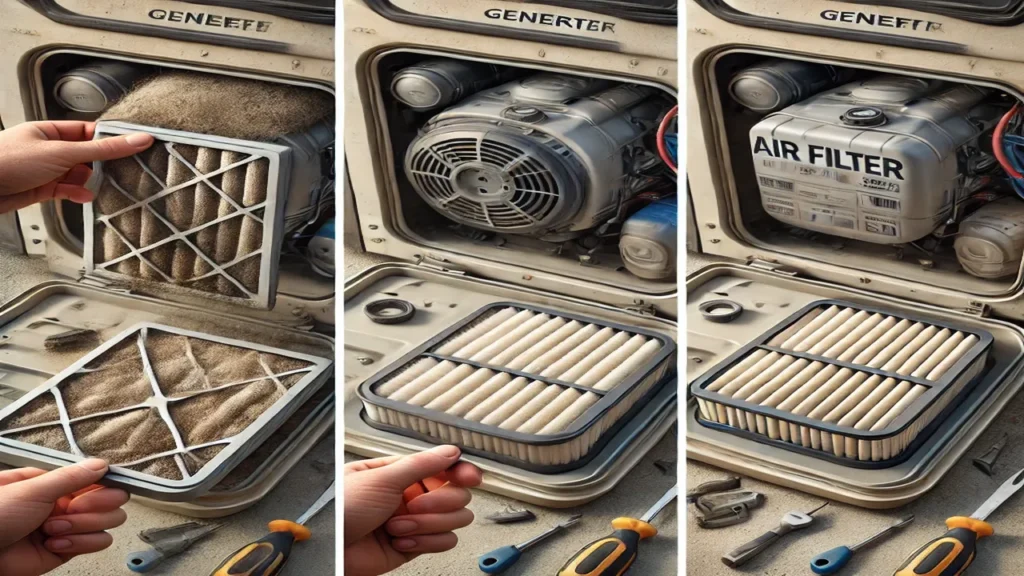
Most of the people are searching about an easy and DIY guide of how to Replace Air and Fuel Filters of an RV Generator because it is a common practice during the RV Generator Maintenance and most of the RV users want an easy way of How to Replace Air and Fuel Filters of an RV Generator at home without going to any shop.

If you are also one of those who have no time to take your generator to ant shop to change the Air and Fuel Filters and you want a DIY easy guide to Replace Air and Fuel Filters of an RV Generator at home then congratulations this article is for you dear! This is a 2 in 1 DIY guide about the step by step process of replacing air and fuel filters of RV or any generator.
No matter either you are a beginner or a professional RV owner, by reading this post you are able to change the air filters and fuel filters of your generator. In order to change air filters of RV generator you have to follow these steps:
- Locate the Air Filter
- Prepare for Removal
- Remove the Old Filter
- Install the New Air Filter
- Secure the Housing of Generator
In order to know how to change air filter in generator you should follow these steps:
- Turn Off the Generator
- Locate the Fuel Filter
- Remove the Old Filter
- Install the New Fuel Filter
- Check for Leaks
By following these steps you can change both air and fuel filters of your generator easily at home. Here is a complete way of how to perform each step correctly and how to Replace Air and Fuel Filters of an RV Generator.
Basic Introduction
Maintaining your RV generator is very Important for a reliable performance of generator during your travels. In the RV Generator Maintenance the cleaning of air as well as fuel filters plays an important role because a clean air filter ensures a proper intake of air while a functional fuel filter prevents the debris from clogging the engine.
In this 2 in 1 guide, I shall go through the step-by-step process to replace air and fuel filters of an RV generator also share tips to avoid some common mistakes and provide some valuable steps to make the filter changing task more efficient and safe. By reading this DIY guide you will know how to change air filter in generator and how to change fuel filter in generator.
Why Replacing Air and Fuel Filters is Essential
Now first we have know why the replacement of air and fuel filters is important because without understanding its importance it is a chance of ignoring the Air and Fuel Filters replacement. Air filters have a great ability to trap the dust particles and make sure that clean air is entering the engine, while the fuel filters prevent the impurities in the fuel from damaging the generator. Neglecting the health and replacement of these filters can lead to:
- Reduced generator efficiency.
- Increased fuel consumption.
- Risk of engine failure due to clogged components.
So’ you have to replace these filters regularly, typically after every 200-300 hours of use to make sure an optimal performance of generator and it can also increase its lifespan.
Tools and Supplies Needed to Replace Air and Fuel Filters of an RV Generator
Before starting to Replace Air and Fuel Filters of an RV Generator you have to gather these tools and supplies:
| Tools & Supplies | Purpose |
|---|---|
| New air and fuel filters | Replace the old ones |
| Screwdriver set | To open and secure the housing |
| Socket wrench | To remove filter brackets |
| Clean rags | Wipe off dirt and excess oil |
| Safety gloves | Protect your hands during the process |
| Fuel line clamps | Prevent fuel spillage |
Other Categories
- Basic RV information
- Eco-Friendly RVing
- RV Challenges and Solutions
- RV lifestyle and culture
- RV maintenance and repair
- RV travel tips
- RV Trends
Steps to Replace Air and Fuel Filters of an RV Generator
Here is an quick and easy overview of the Steps to Replace Air and Fuel Filters of an RV Generator.
How to Replace the Air Filter in RV Generator
Know let us start the first part of this 2 in 1 guide which is to know How to Replace the Air Filter in RV Generator. In order to correctly replace the air filters you have to follow these steps:
Step 1: Locate the Air Filter

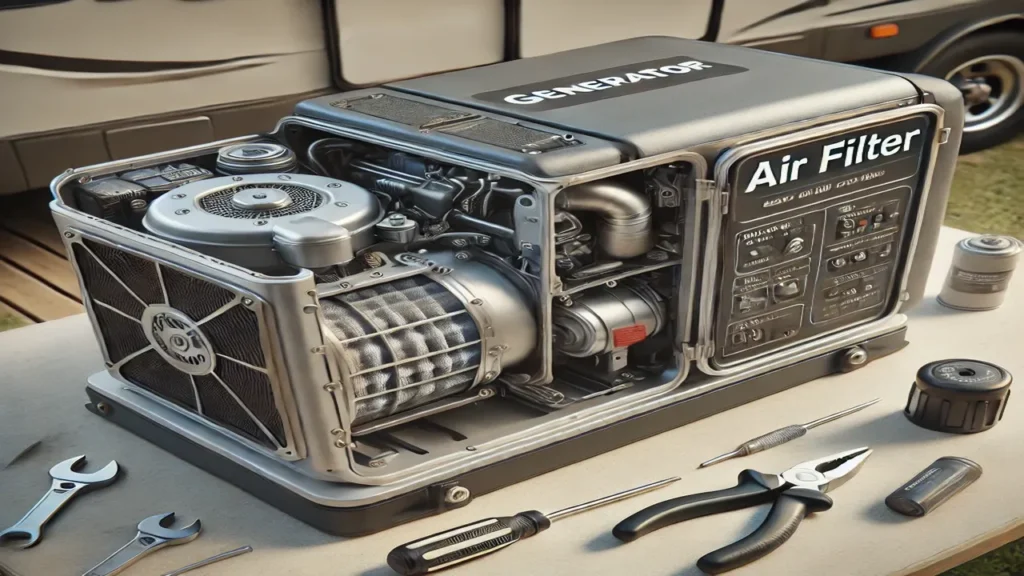
Start the process of Replacing the Air Filter in RV Generator by consulting your RV generator owner’s manual in order to identify the location of the air filter housing. Typically, it is a rectangular or cylindrical compartment on the side of the generator which is secured with some screws or clips.
Tip: Here is a bonus tip that some generators have a snap-on cover while on the other hand other generator require a screwdriver to access. Look for markings like “Air Filter” on the housing.
Step 2: Prepare for Removal

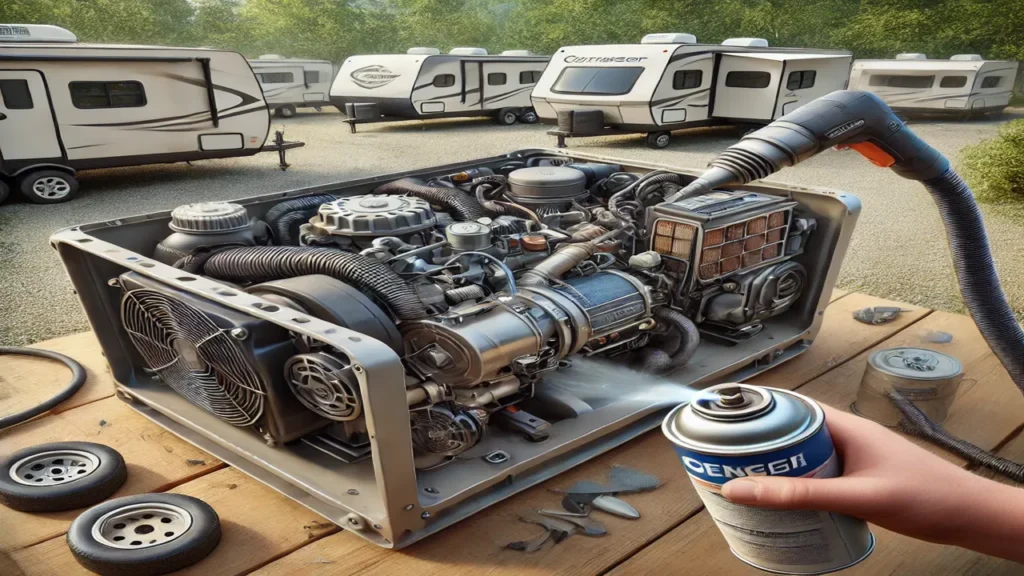
After locating the air filters the second step is prepare for removal of the filters. For this you have to turn off the generator and let it cool in order to avoid the accidental burns. Now clean the surrounding area of the filter housing to prevent the dirt from falling inside the generator when you open it.
Tip: Use a vacuum or compressed air to clean the area thoroughly before opening.
Step 3: Remove the Old Air Filter
Now we have the most important step of changing the air filters of RV generator which is removal of thr old air filters. You have to carefully unscrew the housing cover. Pull out the old air filter. Check it for excessive dirt, damage, or oil buildup.
Visual Indicator: A dark, clogged filter is a clear sign it needs replacement.
Step 4: Install the New Air Filter
Now finally after removing the old air filters the next step is to Insert the new air filter into the housing and make sure that it is aligned correctly and fits perfectly in cage. Some filters have directional arrows to make sure that they point toward the airflow.
Check Fit: You have to check the fit to make sure that there should be no gaps around the edges as they could let unfiltered air into the engine.
Step 5: Secure the Housing
After the replacement that air filters of RV generator is correctly changed then close the cover and ensure that all screws or clips are tightened properly. Start the generator briefly to confirm that it runs properly and smoothly.
These steps of Air filter changing of generator are quick and easy and you can perform these steps by yourself and safe your time by cleaning and changing your air filters of generator at home.
How to Replace the Fuel Filter in an RV Generator
This is second step of Replace Air and Fuel Filters of an RV Generator and in this part I shall guide you how to change fuel filter in generator and all the steps which are needed in this process.
Step 1: Turn Off the Generator and Fuel Supply
The first and most important step of fuel filter changing is turning off the RV generator for the sake of safety. So before starting the process of changing the fuel filter if the generator you have to switch off the generator and close the fuel supply valve in order to prevent any fuel leakage. Allow the engine to cool completely.
Safety Tip: Wear safety gloves and work in a well-ventilated area in order to avoid the exposure to fuel fumes.
Step 2: Locate the Fuel Filter
Refer to the owner’s manual in order to find the place of the fuel filter. It is typically located along the fuel line between the fuel tank and the engine. Look for a cylindrical or in-line filter which is secured with clamps or screws.
Tip: If you are unsure about the location of fuel filter if the RV generator then trace the fuel line from the tank to the engine to locate the fuel filter correctly.
Step 3: Prepare for Filter Replacement
Place a container or rag under the filter to catch any spilled fuel. Use fuel line clamps to block the flow of the fuel temporarily.
Safety Tip: Avoid smoking or open flames during this process.
Step 4: Remove the Old Fuel Filter
Now in the 4th step you have to loosen the clamps or screws which are holding the filter in their place. Now gently pull the fuel lines off both ends of the filter. If the filter resists then twist it slightly while pulling.
Check Flow Direction: Before discarding the old filter, note the direction of the arrow which is indicating the flow of the fuel.
Step 5: Install the New Fuel Filter
This is the basic step of filter replacement. After removing the old fuel filter of generator you have to Insert the new fuel filter into the fuel lines and make sure that the arrow matches with the direction of fuel flow. Secure it tightly with clamps or screws and that is it. Your fuel filters are successfully changed.
Avoid Over-Tightening: Avoid Over-Tightening because this could damage the fuel line or the fuel filter.
Step 6: Reopen the Fuel Line and Check for Leaks
In the final step, release the fuel line clamps and open the fuel supply valve. Check the connections for leaks. If everything is secure then start the generator to test its operation.
Final Checks
After completing the replacement of both filters:
- Run the generator for a few minutes to make sure that it is operating smoothly.
- Check out for any type of unusual noises, vibrations or leaks.
- Record the date and operating hours in your maintenance log for future reference.
And that is all. At this point you are completely aware of how to change air filter in generator and how to change fuel filter in generator. By following these steps you are able to Replace Air and Fuel Filters of an RV Generator at home.
Related posts
- RV Generator Maintenance Tips: How to maintain RV generator in 2025-A Complete DIY Guide.
- RV Generator Oil Change: How to Change the Oil in an RV Generator
- Onan 5500 oil change procedure: How to Change the Oil in an Onan 5500 Generator.
- What are the Common Mistakes in RV Generator Maintenance: Avoid These Costly Mistakes
Tips for Better Air and Fuel Filter Maintenance
Here are some extra tips to Replace Air and Fuel Filters of an RV Generator in better way:
- Check Filters Regularly: Check the filters after every 100 hours of generator use.
- Keep Spares Handy: Carry spare air and fuel filters during long trips.
- Monitor Generator Performance: If the generator starts struggling then check the filters immediately.
- Use Quality Parts: Stick to manufacturer-recommended filters for the best results.
These are some basic tips to correctly replace Air and Fuel Filters of an RV Generator.
Common Mistakes to Avoid
With the tips to perfectly Replace Air and Fuel Filters of an RV Generator there are some mistakes which we should avoid during the replacement of these filters:
- Skipping Regular Maintenance: Neglecting the filters can cause damage to the engine.
- Installing Filters Incorrectly: Always match the flow direction which is marked on the fuel filter.
- Overtightening Screws: This can crack the housing and leading to leaks.
Conclusion
After discussing the complete guide about how to Replace Air and Fuel Filters of an RV Generator we conclude that replacing the air and fuel filters of your RV generator is a straightforward and important generator maintenance task. By following these steps, you make sure the increase in the performance of your generator and avoid costly repairs. I recommend to keep a maintenance schedule and checking for wear and tear on the filters time to time.
I tried my best you guide you about the steps to Replace Air and Fuel Filters of an RV Generator but If you are looking for more about such topic then you can also check out these resources::
If you still have any question than you can ask it in the comment box or you can also contact us at homepage or contact page.
Thanks for your time! Give your feedback in the comment box or you can vote/rate this article.
Related FAQs
How to change air filter in generator?
You can change the air filters of RV generator by following some steps including Locate the Air Filter, Prepare for Removal, Remove the Old Filter, Install the New Air Filter and Secure the Housing of Generator.
How to change fuel filter in RV generator?
You can change the fuel filter of RV generator by following some steps including Turn Off the Generator, Locate the Fuel Filter, Remove the Old Filter, Install the New Fuel Filter and Check for Leaks.
What are those common mistakes which we should avoid during replacement of filters of generator?
The common mistakes to avoid during replacement of filters of generator are Check Filters Regularly, Installing Filters Incorrectly and Overtightening the screws.

Hi, I’m Umar Mirza, the writer of posts of HandyRV.com. I created this site to share my journey and knowledge on RV life, web development, and blogging. With two years of experience in web development and blogging, plus my background in graphic design and current studies in law, I bring a unique perspective to the online world.
Working with international clients and developing my skills in video editing have been rewarding parts of my journey. Inspired by my friend, YouTuber Satish, I’m motivated by the endless opportunities for growth and income in the online field. I love the flexibility of working from home, which allows me to dive into my passions and share what I learn.
Check out my posts on HandyRV.com, or connect with me on social media, love to connect and help others on their own journeys!
